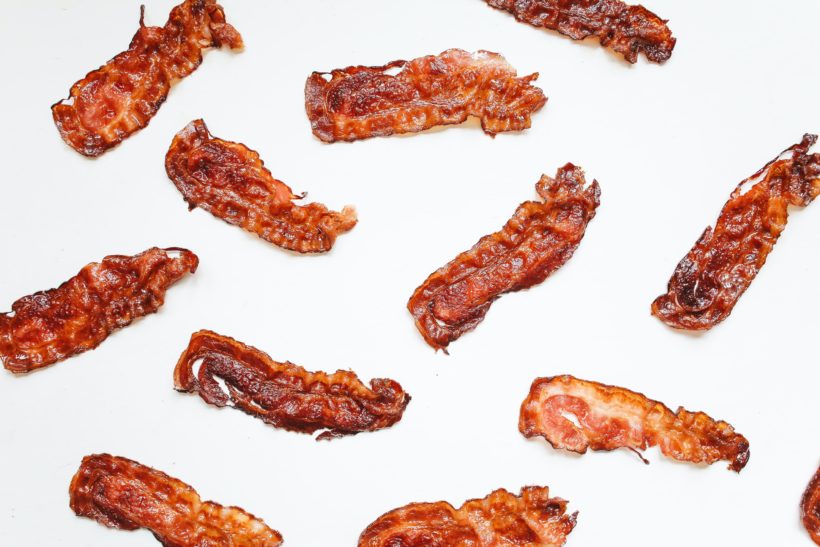
The secret to perfect fried bacon is that it isn’t fried; it’s baked. Cooking bacon in the oven is the method most restaurants use, and it is foolproof.
How to Make Oven Baked Bacon
The ONLY Ingredient
High-Quality Bacon. This might sound obvious, but I can’t overstate its importance: the better quality of bacon you buy, the better your final baked bacon will taste. If you know me quality is everything and you are worth it.
I like to purchase my bacon from the butcher counter at the grocery store or at the Farmer’s Market.
Instructions
1. Get the oven HOT.
Preheat to 400° and line a large baking sheet with foil. (You’ll be thankful once it’s time to do dishes.)
Test Kitchen Note: Everyone’s oven is different. We highly recommend using an oven thermometer to make sure that the heat is actually at 400°. (Many built in thermometers are inaccurate.) If yours is running hotter, you risk burning the bacon.
2. Use your cooling rack.
If you like your bacon extra crispy, put a metal cooling rack inside the baking sheet. Elevating the bacon allows the strips to cook from all sides. If you like your bacon with a little chew, or you don’t have a cooling rack, skip this step. Your bacon will still be amazing.
3. Bake the bacon.
Lay bacon strips in a SINGLE layer on the baking sheet. Do not let them overlap or the strips will stick together. Bake until the bacon is crispy, about 20 minutes, depending on its thickness. Our advice: Start checking after 15 minutes because some ovens are finicky and burnt bacon is sad.
4. Drain the slices.
Per usual, drain the (very greasy) bacon slices on a paper towel-lined plate, then serve immediately.
5. Save the bacon fat!
Pour grease into a mason jar (or other glass container) and store in the fridge. Seriously though — saving the fat will be the best decision you make all week. You can use it to cook eggs, roast vegetables, and even pop popcorn.


